
by Fit Snack | Oct 10, 2017 | Uncategorized
Looking to enjoy HALLOWEEN while still treating your body right?

While we will be sure to include some tasty treats in our October box, we have a couple of recipes that are our favorite this time of year! They help satisfy our cravings while still being festive and guilt-free!
“Boo” Nana Pops
Ingredients
- Bananas
- White chocolate (1 oz. per 1/2 banana)
- Chocolate chips
- Popsicle sticks
Instructions:
- Cut bananas into fourths (by width and then by length)
- Melt white chocolate
- Insert popsicle stick into flat end & dunk into white chocolate
- Add chocolate chips for eyes and chill in fridge until ready
Witch Finger Cookies (paleo + vegan!)
Ingredients:

- 1/2 Cup Coconut oil at room temperature (should be the consistency of softened butter)
- 1/4 Cup + 3 Tbsp Honey *
- 1/2 tsp Vanilla extract
- 1/2 tsp Almond extract
- 1 Cup Coconut floursifted (88g)
- 1/4 tsp salt
- 16 sliced almonds
- For the strawberry jelly: **
- 3/4 Cup frozen strawberries thawed and roughly chopped (170g – measured when fullythawed and soft)
- 2 Tbsp Honey *
Instructions:
- In a large bowl, using an electric hand mixer, beat together the honey and coconut oil and smooth and creamy. Add in the vanilla and almonds extracts and beat once more.
- Add the coconut flour and salt into the bowl and stir until well combined, and a wet dough forms. Scrape the dough onto a large piece of saran wrap and wrap into a flat, thin disc. Place into the refrigerator until firm and roll-able, about 25-30 minutes.
- While the dough chills, preheat your oven to 325 degrees and line a baking sheet with parchment paper. Set aside.
- In a small sauce pan, combine the chopped berries and honey and bring to a b
oil over medium heat. Cook the berries, stirring frequently, until they become very thick and smooth, about 13-14 minutes. Make sure to really keep an eye at them near the end of cooking time, so they don’t burn.
- Transfer the berry mixture to a bowl and mash with a fork. Place into the refrigerator to set up.
- Remove the dough from the refrigerator and roll 1 Tbsp sized balls into 4 inch long finger-shapes, that are about 1/2 an inch thick. Place onto the prepared baking sheet and firmly press an sliced almond into the tip of the finger, to create fingernails. Remove the almond before baking. Then, using a small, sharp knife, make several horizontal, shallow cuts just under the finger nail, and then in the center of each finger, to represent knuckles. Lightly press in the dough on either sides of the knuckles to shape them. Place the whole pan into the freezer for 10 minutes.
- Once frozen, bake the cookies until golden brown, and lightly crackly about 12-13 minutes.
- Once cooled, dip the bottom of the finger into the strawberry jam, so it looks like it’s been cut off. Then, fill the finger nail space with a dollop of the jam, and press in a sliced almond.
Spooky Teeth
Ingredients
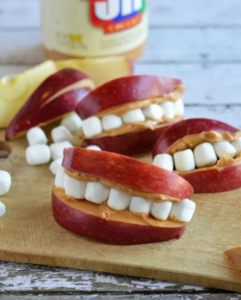 Apples
- Jar of peanut or almond butter (you will use about 1/4 to a 1/2cup for one apple-depending on amount you use)
- Mini marshmallows
Instructions:
- Cut apple into 8 slices, then into smaller pieces to your preference
- Put about 1-2 teaspoons of peanut butter onto each slice
- Put a row of mini marshmallows across one apple slice
- Sandwich the two slices together and press firmly until they stick together
Have a happy, healthy and spooky Halloween!
by rose muniz | Aug 26, 2017 | Uncategorized
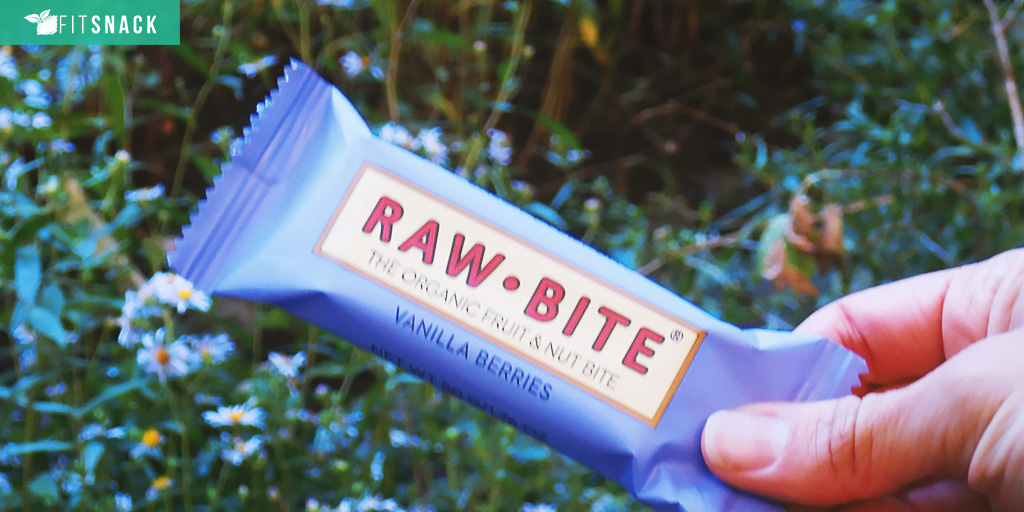
Once we get re-connected to nature and the rawness of life, we remember that simplicity is often all we need. We love featuring raw snacks in our box for just that reason. Adding raw snacks to your diet is smart, and we’ll give you 4 epic reasons why. But first, we have to brag about our partner Raw Bite. They are a dope company, making unbelievably delicious Raw Bite Bars. With simple organic ingredients and limited processing, founders Mortan, Nikolaj and Ralf have done it right.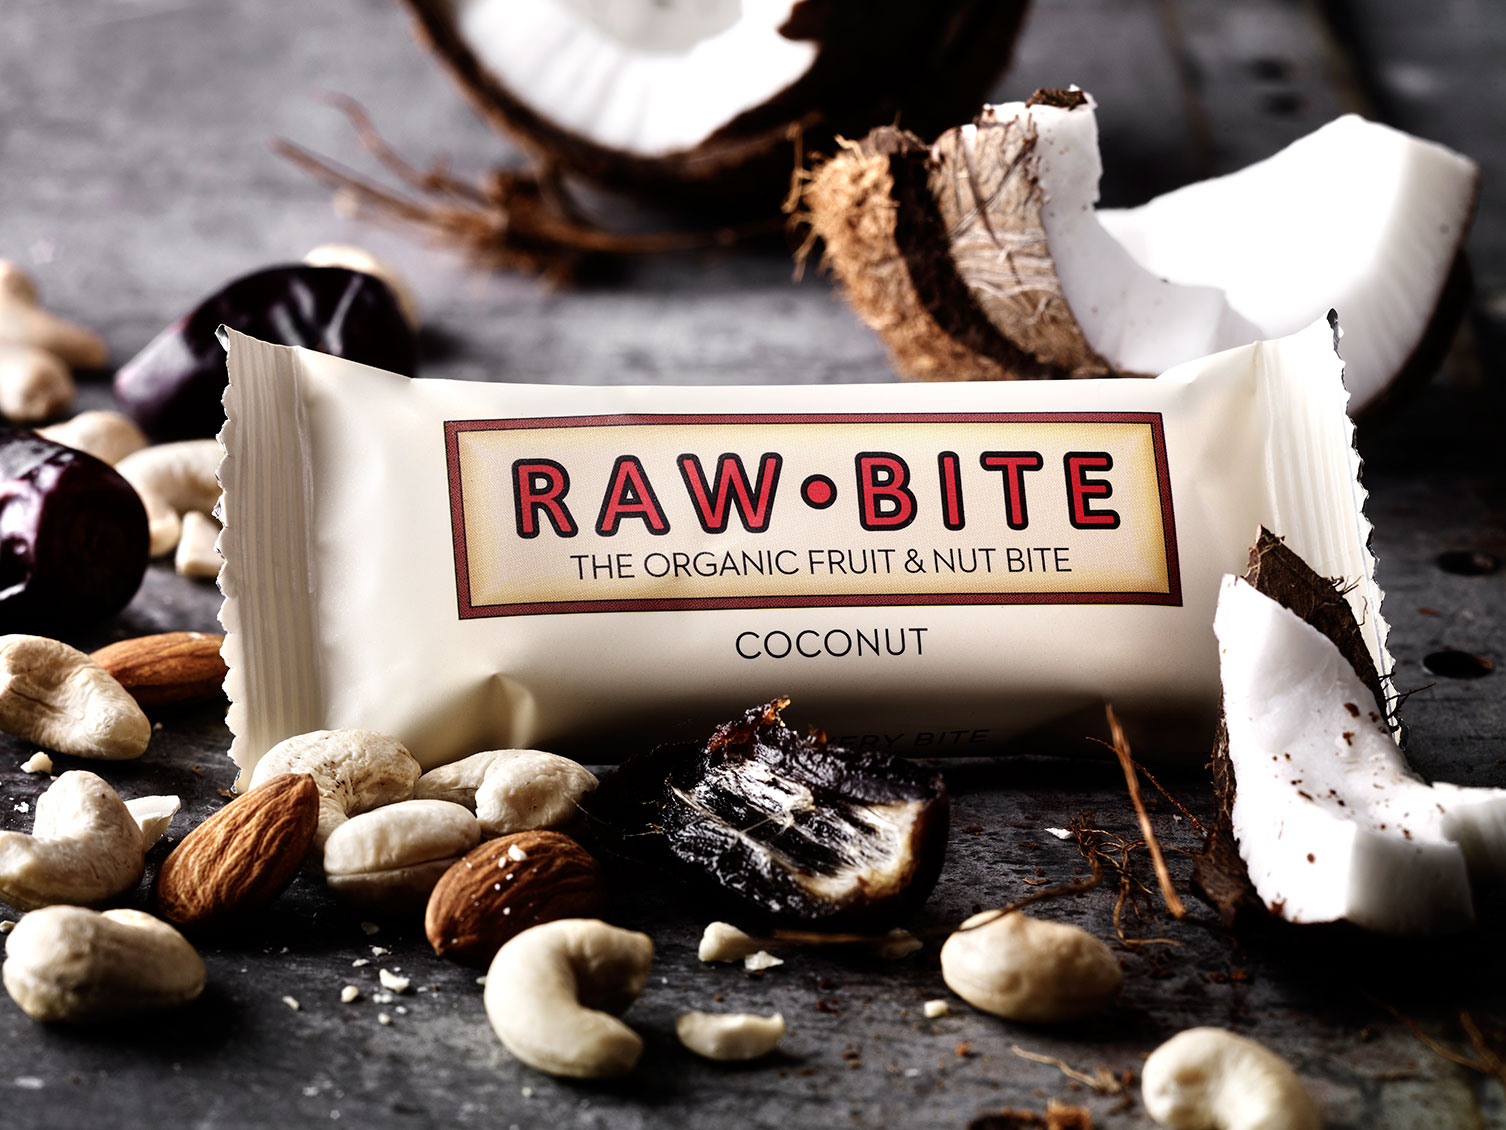
Common raw food recipes include mostly organic, uncooked, and unprocessed foods. No matter what kind of diet you follow, including raw snacks is a sweet gesture that your body and tastebuds will thank you for.
Do you remember when you were a child, the first time your parents taught you to pick a wild berry off a tree? The experience of picking it form nature, putting it into your mouth and tasting the sweetness and sourness of it. That experience is one of Mother Nature’s greatest gifts to enjoy as humans.
Adding Raw snacks to your diet allows you to slip back into that place anytime you want. Raw snacks are filled with vibrant nutritious energy. While many of the stable snacks we buy in vending machines are fried with grease and filled with preservatives.
4 reasons to add Raw Snacks to your diet:
- Homemade Raw snacks are easy and your kids will think your a chef (think cherries, pecan’s and dates)
- Packed with healthy fats that actually help you loose weight.
- Experience more mental clarity and decrease afternoon sluggishness
- Enjoy a variety of nutrients and enzymes improving your overall health
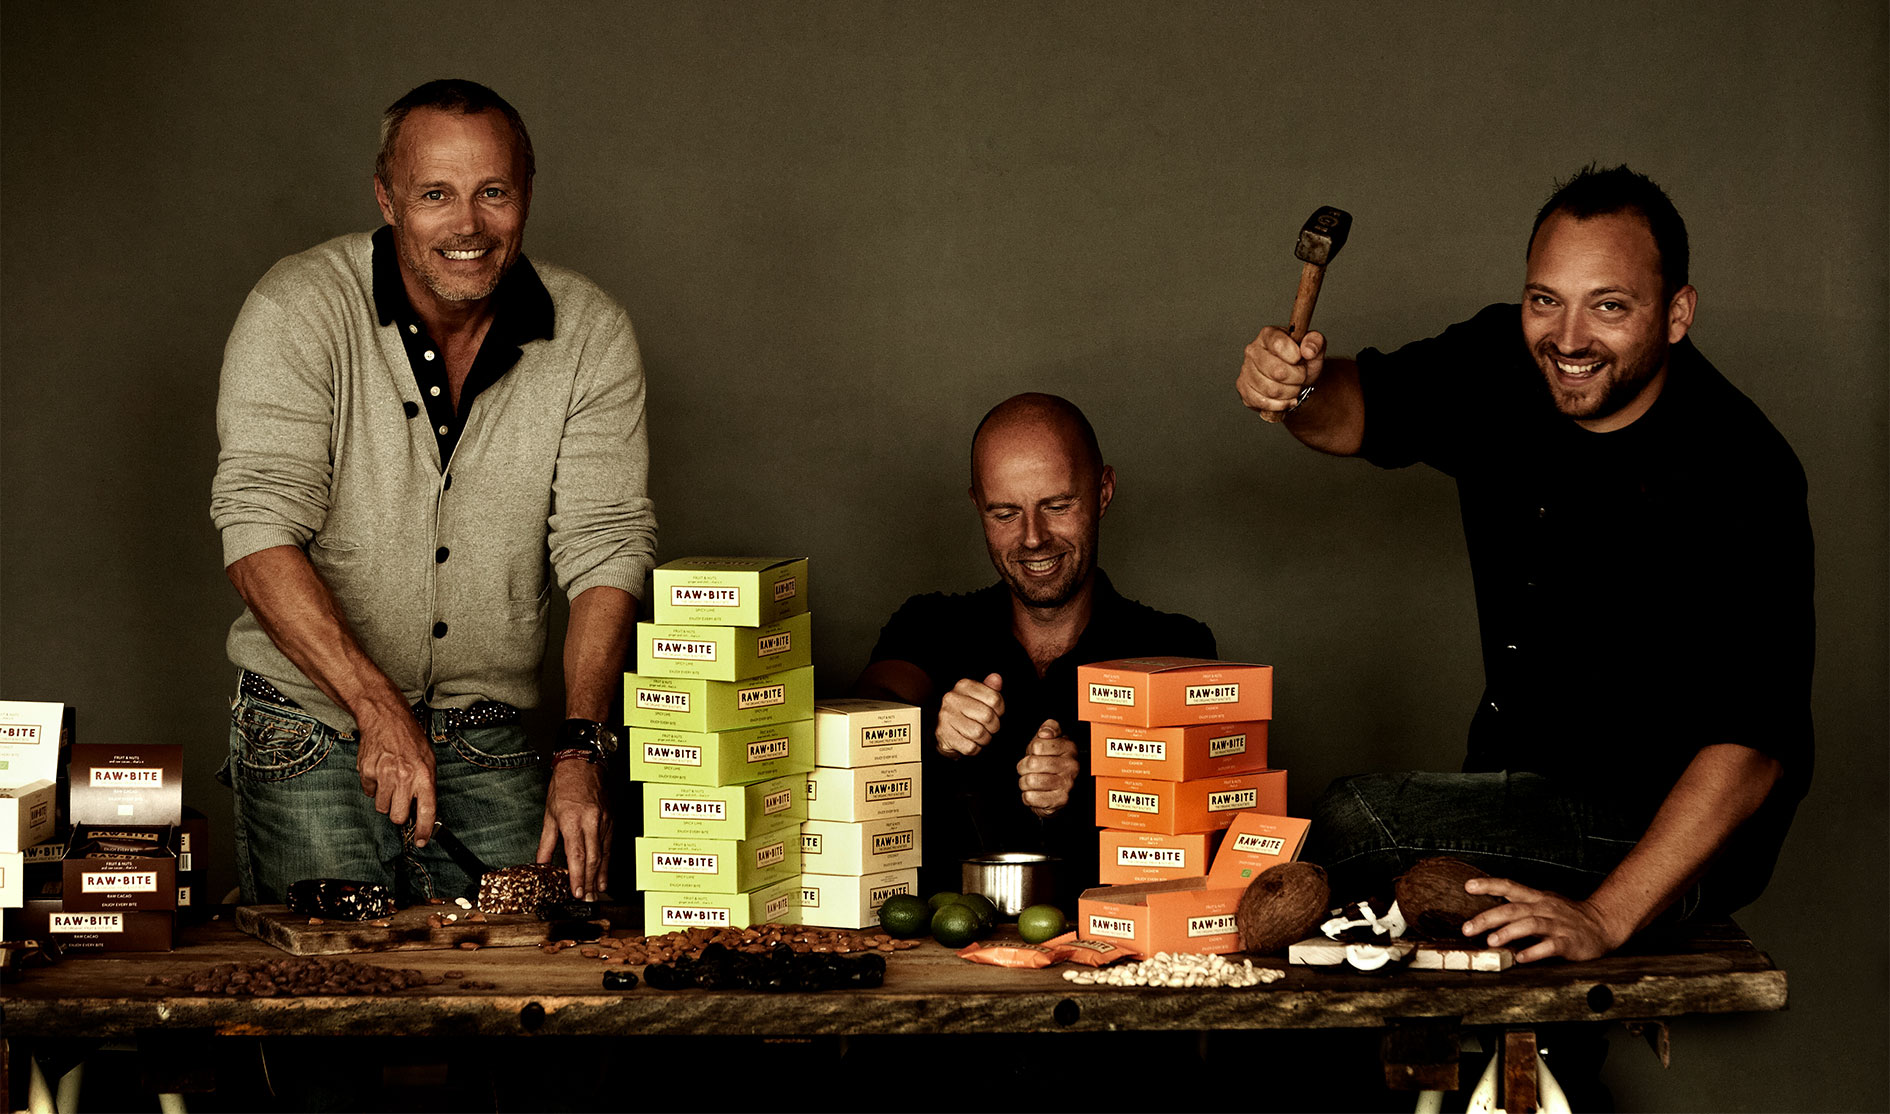
Raw Bite Founding Team
Thanks to the Raw Bite, we have a super easy option for on the go snacks that we can trust are healthy. If you have kids, you can feel proud about giving these snacks to your kids. If you don’t have kids, you can enjoy them all to your self!
It’s just a bite. Another important lesson to learn from the team at Raw Bite. Sweet snacks do not have to consist of full double size candy bar to satisfy intense cravings. Bite size snacking adds just the right amount of sweetness to your day.
Every time you eat, including snacks, is an opportunity to nourish your body.
If you read this post before 9/30 Enjoy 20% OFF on Amazon with discount code: FITSNACK
by Fit Snack | Aug 16, 2017 | Food for thought, Partner, snack, Snacks, Uncategorized
A clean cookie made with love and whole food ingredients
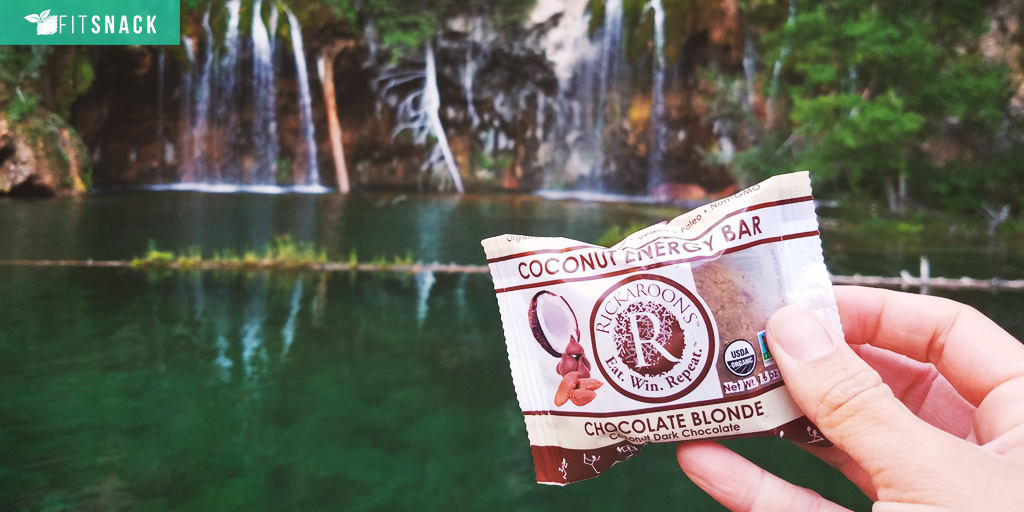
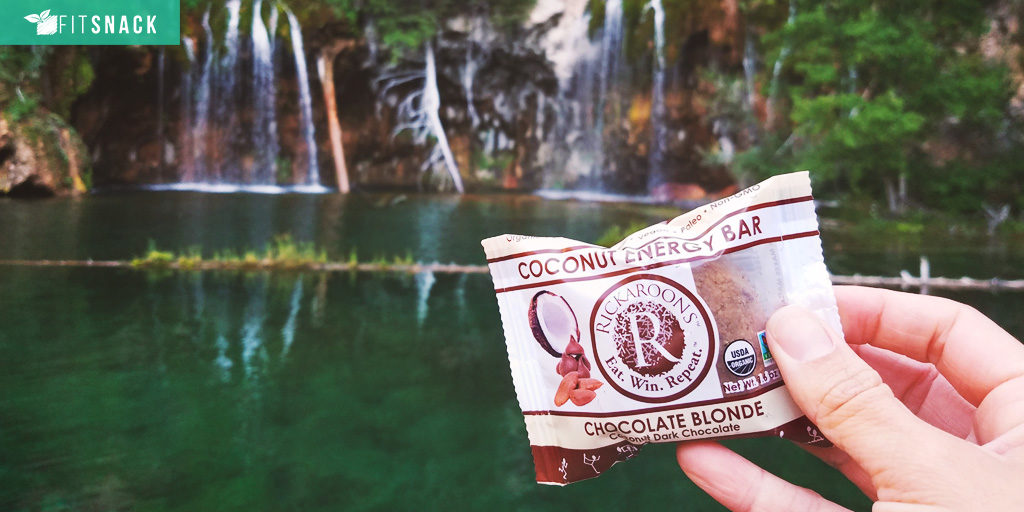
Rickaroons are made with love…by Rick. These nutrient packed treats taste like dessert, so you know they are made with lots of love. What you wouldn’t know is that each Rickaroon only has 4-5 ingredients. The ingredients list is as beautiful and healthy as it is tasty!
Inspired by love.
The love of being healthy and the love for a special woman. Rick set out to simply create a healthy comforting treat for a loved one during her battle with Multiple Sclerosis. Over time he perfected his recipe to make an on-the-go snack that is as simple as it is sweet. Designed to fuel workouts and satisfy cravings, the combination of coconut, nut butters, and chocolate does both perfectly!
The Rickaroon line now has 5 delicious flavors so you can have one for every occasion.
- Chocolate Blonde
- Peanut Butter Protein
- Mint to be – Mint Double Chocolate
- Mocha – Double Chocolate Espresso
- Megaroon – Superfood filled = Chia Seeds + Cocoa Nibs Today Rickaroons is a family run business and it’s a special team effort to bring these beautifully crafted treats to you.
Beautiful Ingredients for a beautiful life.
Only 6-8 ingredients. I bet your wondering “What can they be and why beautiful?”
All Rickaroons flavors are built around coconut. Every flavor includes 3 forms of coconut – Shredded Coconut, Coconut Palm Nectar, and Coconut Oil. Combine the coconut with Almond Butter or Peanut Butter, a hint of Vanilla, and sustainably sourced dark chocolate and you get perfection. Some of the key ingredients you will see here are high in antioxidants, and combined they make for an anti-aging friendly treat. Antioxidants primarily serve to fight damage to your cells (the oxidation process) whether caused by stress or imbalances. So relax and enjoy a Rickaroon in your August Fit Snack box. Warning: Rickaroons may cause big smiles, happy taste buds, and a healthy body.
Rickaroons are Certified:

by rose muniz | Aug 8, 2017 | Uncategorized
Coffee lovers commence! Why you ask? You deserve better and it’s here.
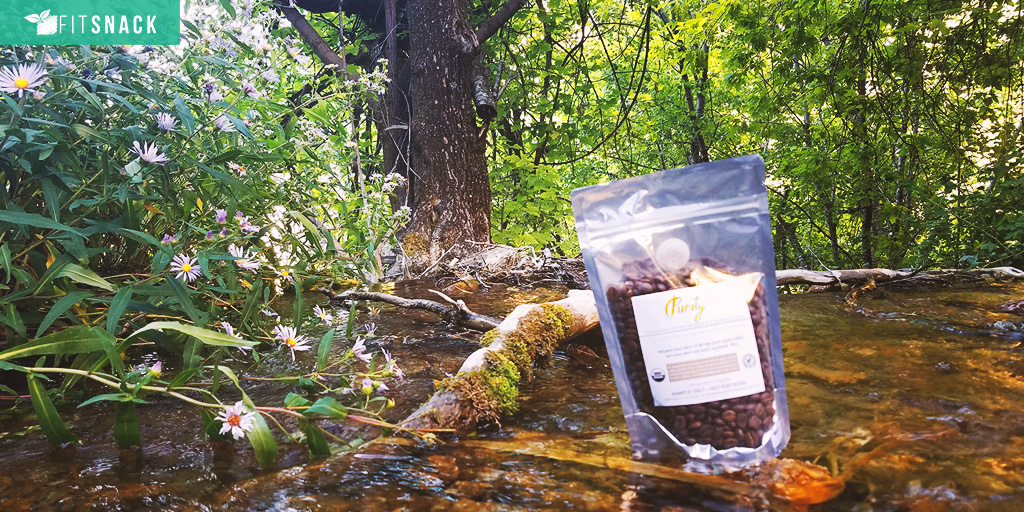
For avid coffee lovers, there may be days where one feels ‘guilty’ about enjoying their favorite cup of joe. Let’s face it, even the simplest daily habits can make or break us. If your coffee is not the quality your body needs then it will likely break you every time or most of the time. Either way as our friends at Purity Coffee have made a purely perfect cup of Joe and said, “It’s time for change. . .”
At Purity their team of scientists and coffee experts came together to make that change. After all the right coffee won’t break you, it may even help you live a longer and healthier life. This depends of course on the quality of the coffee, your unique and individual body and the amount you consume.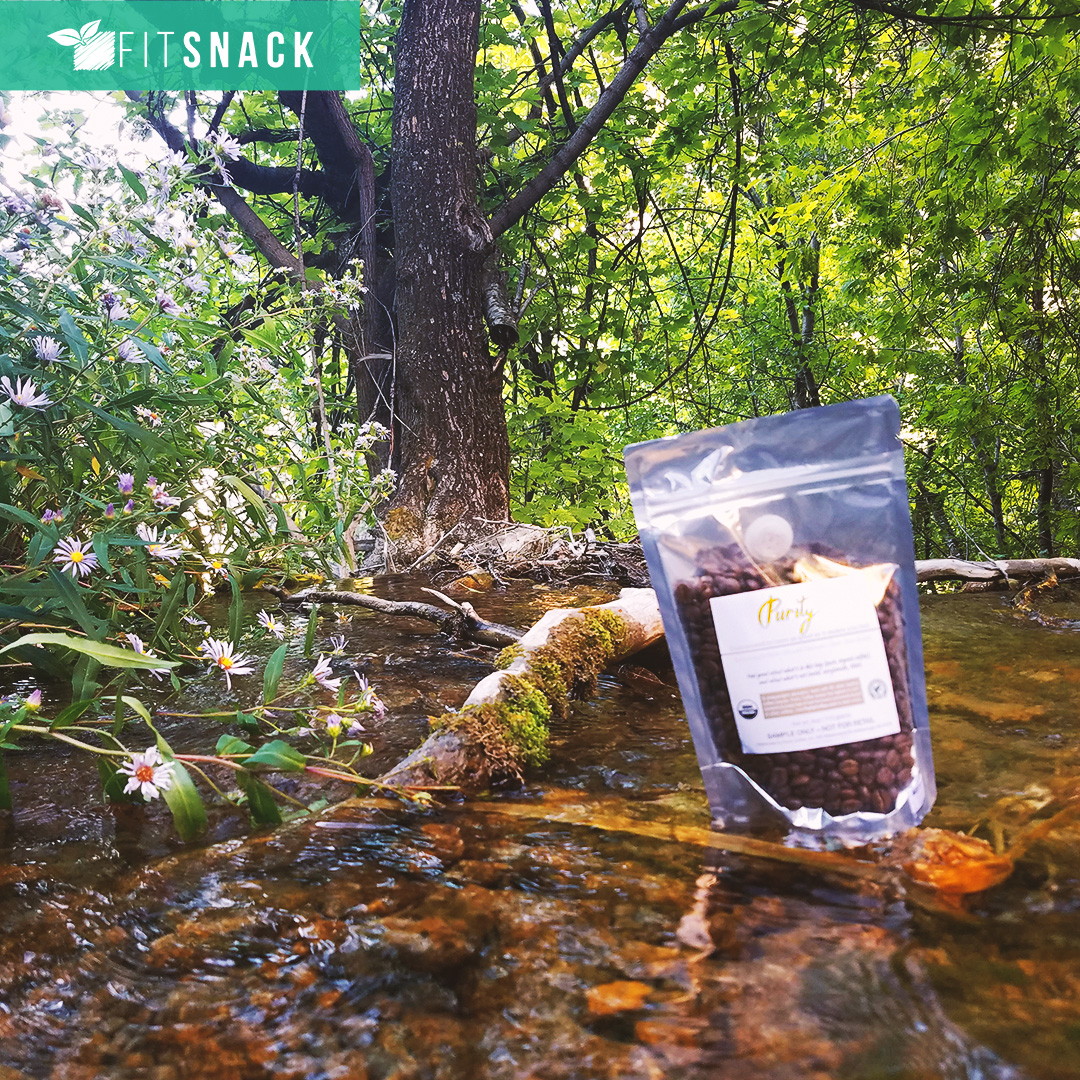
When it comes to enjoying one to two cups a day, there is one reason why it is great to LOVE quality coffee!
Research provided by our favorite coffee partner Purity
According to the USDA in 2015
“Strong and consistent evidence shows that consumption of coffee within the moderate range is not associated with increased risk of major chronic diseases, such as cardiovascular disease and cancer and premature death in health adults.”
This debunks the myth, that coffee is “bad” for you – but – moderation is key, but wait there’s more! The quality of the coffee makes all the difference.
Lab results tell all:

Purity coffee enjoyed by friends!
- On average Purity contains 4X the antioxidants of the 12 leading organic coffee brands
- Contains 2X the antioxidants of the leading performance coffee brands
- High in antioxidants, yet free of the ‘bad’ stuff.
- Smooth taste and you FEEL the difference
- Coffee may limit risk and/or protect from Type II diabetes, Alzheimer’s, Dementia or Parkinson’s Disease
- Helps against depression and increase your happiness.
Not all coffee is created equal. Coffee being the 2nd most traded commodity in the world, after oil, can be subject to harsh factors associated with mass production. Purity coffee maintains its health profile until it reaches your door.
This is why Fit Snack is over the moon for Purity Coffee. They are dedicated to the science and sharing of the best brewed coffee that enhances the health and lives of people from all walks of life.
A must watch! Founders Andrew Salisbury and Jon Butcher breakdown their behind the scenes process behind making the worlds healthiest coffee!
Interested in learning more? The #1 mission at Purity is to educate their customers. They have invested countless hours in developing a learning lab with everything from the farm, to the lab and ultimately brewing your perfect cup!
Fit Snack is proud to share Purity with you!
A HEALTH CONSCIOUS COFFEE COMPANY!
Making the world healthier one cup of coffee at a time.
by rose muniz | Aug 6, 2017 | Uncategorized
Each day is filled with choices. Choices to wake up happy, grumpy or energized. Choices on how to eat your eggs, what snacks to enjoy throughout the day and where to go to lunch. The choices go on and on. How about making decisions easier with the Fit Snack selection secret weapon.
Taking time to “decision make” all day long is exhausting. Especially when it comes to ‘what type of companies, brands and products’ should receive your support or money. I recently read an article that you can save mental energy and creativity by creating a formula to decision making. The author of the article even went as far as to order the 2nd item on the menu, every time he want out to eat. Just to save him from the evaluation process.
Being a Foodie at heart, I wouldn’t want to give up my restaurant menu exploration, though I wish I had a cure for my indecisiveness over ALL of the options that sound amazing and FOMO over choosing the wrong item. So I started thinking, if I were to create a formula for decision making, what is one thing that would make a choice easy? The answer that comes to me, is consciousness. By that I mean, how conscious is the company I am evaluating? Do they care about our planet? Do consider the full ecosystem of their industry, rather than just the bottom line? Do they create products that I can feel proud to purchase?
At Fit Snack, we have a huge responsibility to choose products that you will not only enjoy eating, but are healthy and we can feel good about supporting the brands behind them. That is why, looking for high conscious snack companies is one of our SECRET WEAPONS! Yes. It’s true, we look for amazing companies who are creating snacks in a high conscious way, snacks we are proud to share with our 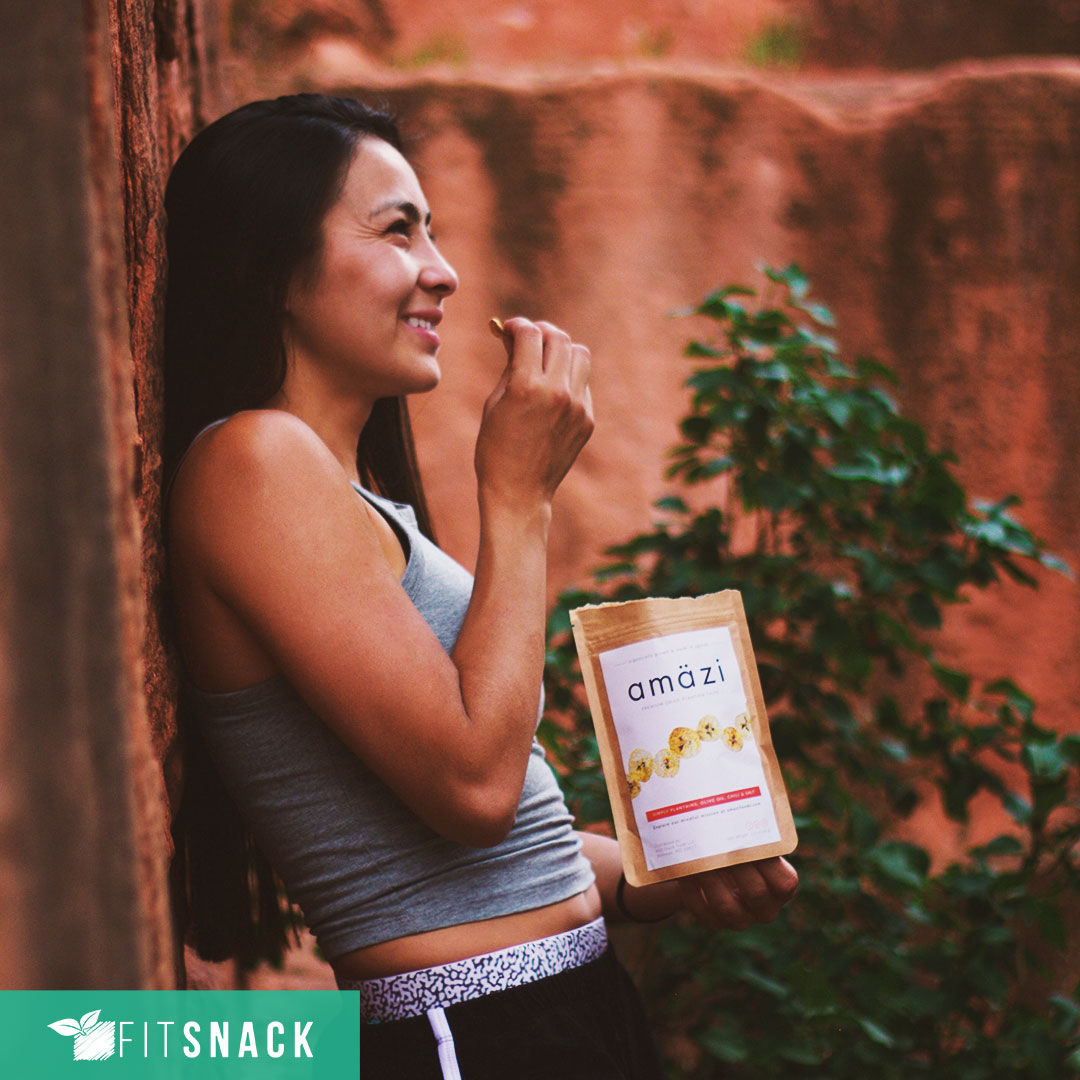 subscribers.
AmaziNG Snack Companies Unite!
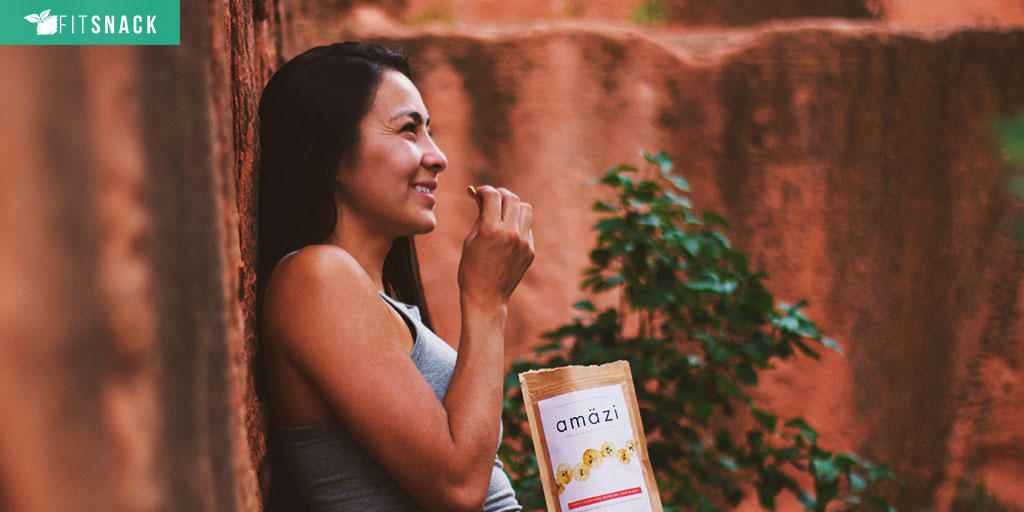
Which brings me to Amazi – one of the highest conscious brands we have ever featured in our box!
Amazi is a mindful food company whose mission is to inspire local agricultural value chains and catalyze economic growth through the sales of healthy products.
They are a part of a local organic farming network, through this network, they are able to source organic high quality fruit. They then work with Ugandan partners and food scientists who hand slice and small batch roast their fruit to perfection. They then package everything to be enjoyed by their trusted customers (including our Fit Snack subscribers!). A portion of their proceeds then goes back to expand farming network, cooperatives, farmer training, direct trade practices and support local communities.
Now you see why “high conscious company” has become a part of our selection process. It allows us to attract snack companies like Amazi – who are AMAZING!
by Fit Snack | Jul 16, 2017 | Uncategorized
Trainers Top 5 Workouts for Cross Training
The Fit Life Hacks of a Trainer are designed to help you train smarter, not harder. Are you getting the most out of the time you spend at the gym or do your goals seem farther and farther out of reach? In your fitness journey, just like in life you cannot be hesitant or afraid to make changes and use a new routine and hopefully change it up. Use different machines or exercises. The body is meant to move in different planes of motion and needs a healthy variety of exercises to evolve. Here are Top 5 workouts to maximize performance, paired with the perfect post workout snacks.
Cross training along with healthy eating are two habits that can become your body’s best defense against injuries.
1. Yoga
Yoga is a simple yet highly effective practice to awaken your mind and elevate your mind body connection. Only 10 minutes a day of practicing yoga, the relaxation and breathing methods can improve your wellbeing. Practicing yoga is the practice of building the body and the mind. This is why yoga is known specifically for how it increases energy and vitality, the two things we all need more of to live our best life.
You are what you do and you are what you drink.
Follow your yoga practice with the healthy Fawen Drinkable Soup. Made with pure, organic superfoods and the clean ingredients to replenish your nutrient stores. Vegan, Gluten Free, NonGMO and All-Natural it is everything you want in a drink and everything your body craves.
2. Calisthenics (body weight work)
Performing body weight work prior to any weight training exercise will fully engage your core and muscles you will not hit on any machine. When your core is engaged it is actively working during your entire workout. Implement body weight work in your warm ups and cool downs. It’s amazing what 5-10 minutes a day can do to increase total body strength over time.
Trainer Fit Life Hack: Chest Day/UpperBody – Pre Workout Push Ups
A variety of pre workout Push-ups should be a part of your warm up for chest day or abs. Warm up your wrists first and then perform different types of push-ups.
The Trainers Favorite Push Ups to implement:
Push Ups on Knees
Staggered Arms Push Ups
Incline Push Ups (feet elevated on a step or bench
3. Swimming
Swimming is ideal for rehabilitation of injured muscles and nerves, especially the injury to the sciatic nerve to relive back and leg pain. Being in or around water is highly therapeutic and a stress reliever.
Trainer Fit Life Hack: if you don’t swim laps, no problem, run in the water. There are so many activities you can do in the water the photo of Muhammad Ali throwing punches in the water is a prime example.
Fuel up with a Q-Cup
Eating healthy while on the go just got easier & more flavorful! Q Cups™ combine organic quinoa with delicious natural flavors for a savory snack that’s ready in just 5 minutes!
4. Cardio after weights
Timing is everything! Increase the amount of fat burned, I’m talking about that stubborn fat. Even just 10 minutes of cardio a day, think about it, 10 minutes 3x a week is 30 minutes of cardio. Every minute counts! Every calorie burned and every pound of stubborn fat you lose makes a difference in how you FEEL. At the end of the day that’s what really matters. If you feel your best, you’ll be your best.
Trainer Fit Life Hack – Make your post weight training cardio enjoyable, not stressful. Relieve stress if you need to sprint then perform 5 sprints 30 seconds on 30 seconds rest, this will increase calories burned further. Then finish with 5 minutes of slow walking or low impact cardio (elliptical or bike).
Train Smart and Snack Smarter
Rise Buddy the Gluten free, trans fat free chip. Best of all it’s made with “whole grain” brown rice.
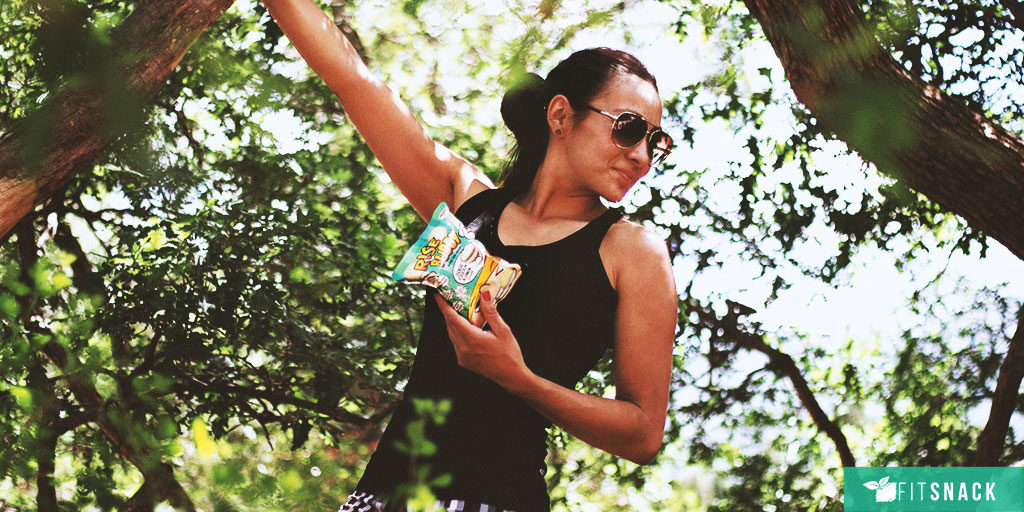
5. IMRPOVE your Stamina and your LIVER HEALTH with the exercise and the snack that promote liver health in a huge way!
Aerobics. Exercising can prevent and reverse fatty liver disease, a disease in which there is no medication and no treatment besides lifestyle changes. You can learn more about a healthy way to detox and your liver health at Amsety [enter link].
Trainer Fit Life Hacks: Think basketball, football and soccer drills these movements increase the calories burned. Interval training on any cardio machine or on a track with multidirectional movements can improve athletic performance. Who wouldn’t want to move like an athlete?
Grab a protein smoothie, add fresh veggies and for the best plant based energy try Purely Inspired protein. Then freshen your breath and energize with Swish4.
Feel Fresh.
Swish4™ mouth rinse is produced using GRAS (Generally Recognized As Safe) listed ingredients, vitamin E and a low dose of caffeine. As a new trend setting and innovative mouth cleansing product, Swish4™ mouth rinse ensures a freshening, cooling, and instant alert feeling.
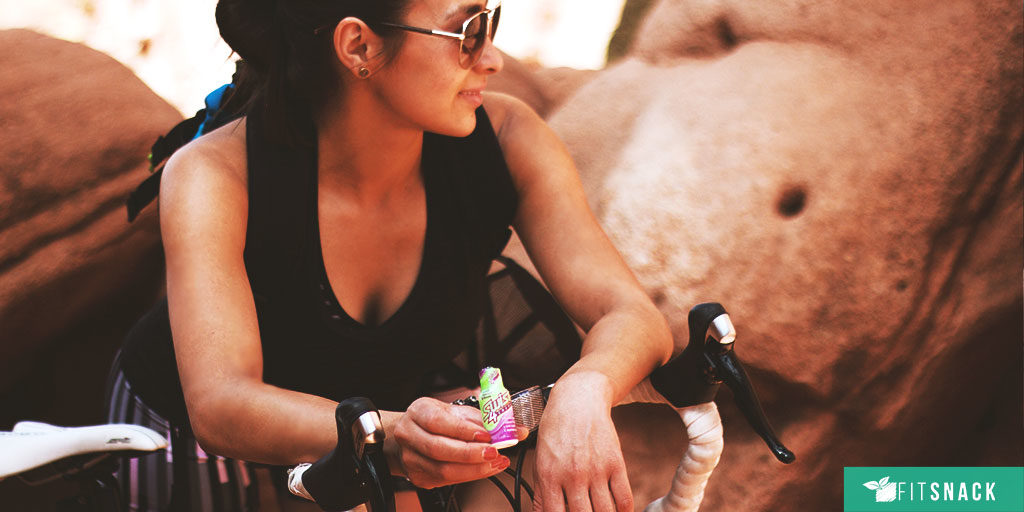
To start to implement another “thing/workout” into your BUSY life, make it easy on yourself. Start light with the one that is the most relaxing for you. I prefer to walk stairs at a slow pace after leg day mixed with light stretches and leg lifts.
Treat Yo Self!
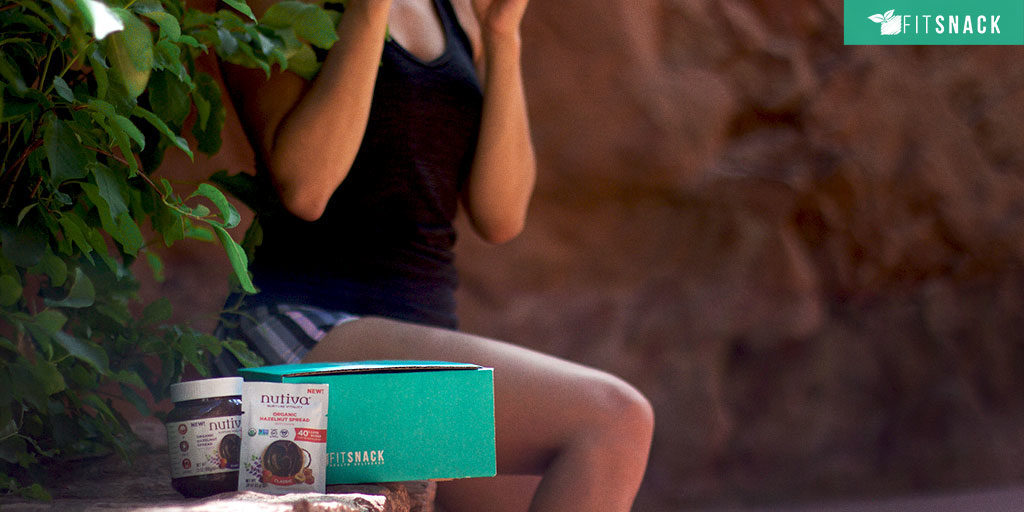
Once you add cross training to your routine, pat yourself on the back and have some dessert on us! Nutiva hazelnut spread over strawberries and banana slices and a healthy cookie. Our Nutritionist recommends this delicious treat! Enjoy, you earned it.


 Apples


